Looking back to the two projects I did, I really learn a lot from trying a new type of making, more specifically, crafting. The way to learn from experienced stuffs and classmates, to keep trying, to learn from mistakes is rewarding, both for my architectural study and for the future tasks I may go through.
For the first project, I am really new to metal shaping even I have done the training session. Fo most of the time I was confusing about what I should do with the tools and the aluminium sheet, but it is always about trying again and again for the first time. However for the second attempt I am more confident with the help of my peers and kind workshop stuffs. The second object is lighting, which is very discipline specific as it is a basic element when considering interior design, from the shape I understand how a complex geometry in everyday life is formed. Recording the process of making is helpful as well, as I get to review what happens every hammer and gain insight into a better way of treating the metal skin.
All in all, I am lucky I get into this course and try something I never imagine I could do.
Monday, May 30, 2016
Saturday, May 28, 2016
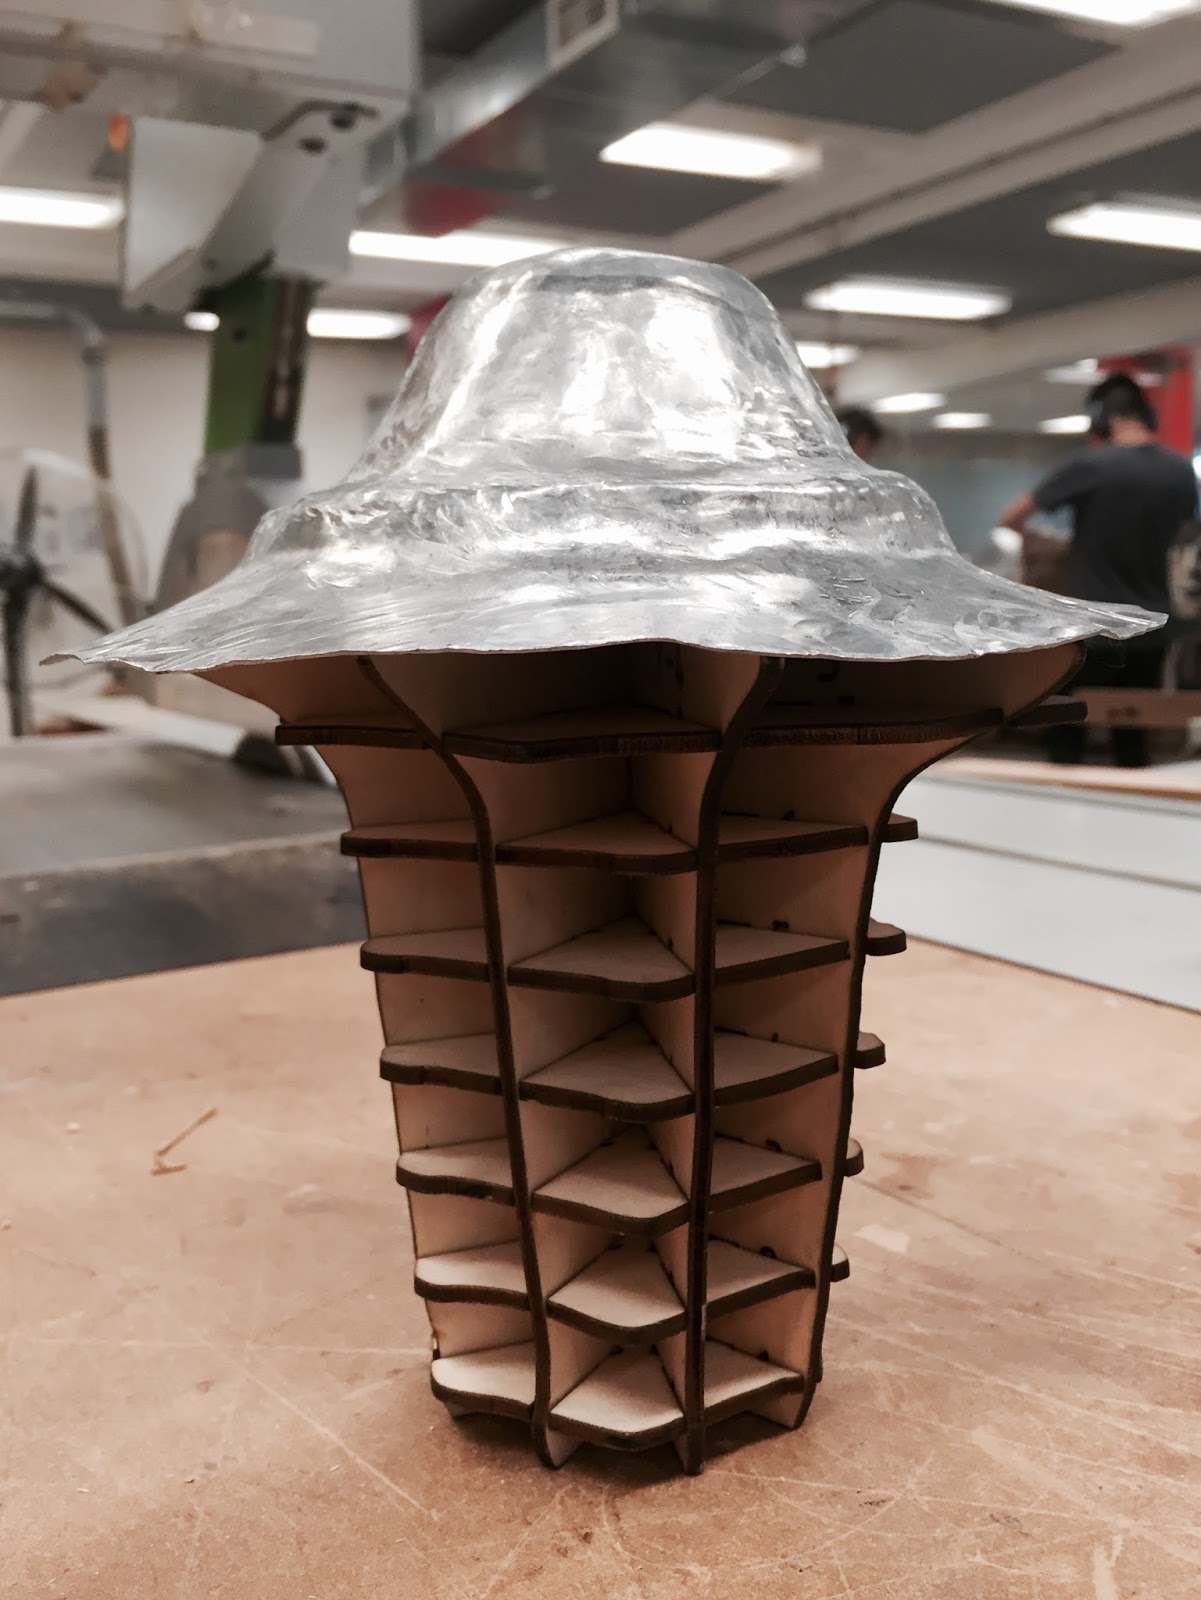
Tutorial 2: Interdisciplinary Skin
Project Object: Lighting
Main Steps:
1. Measure the template's dimension and cut a proper aluminium sheet2. Use the half-sphere tool to round the aluminium sheet to a half-sphere shape
3. Make the contours base on the template
4. Round the edges of the contours
5. Adjust to adhere to the template
6. Sand and polish the skin
Process:

1. Use a round aluminium sheet to start.
Find the centre of the sheet.

Draw the main contours to prepare for making a sphere shape.

2. Fix the half-sphere tool on the working table.

I am going to use this hammer to shape the aluminium sheet.

Hit the sheet from the centre.


Tips: the quickest way to make a sphere shape is to hit the sheet from the centre and move the sheet to the edge gradually, the way I move it is like a helix curve.

Then put the aluminium skin on the template, it is round enough to cover the top of the template.

3. Then draw the contours base on the template.

Use the timber block with a diagonal plane.

I didn't hit it quite well, but I could still see the rough shape of the lighting.

The shape is getting better after trying to hit it in a different way.

I change the hammers to smaller ones in order to make more details.

This tool works well in making the edge.

This time is getting better, however the height if each part need to be modified.


The basic shape comes after comparing to the template and adjusting many times.


4. Next step, use the pie shape tool to enhance the contours.

Hit the skin with the hammer carefully.

Then use the hammer with plain end (hit carefully bit by bit),

and the tool with a rounded edge to round the contours.
Compare to the template to get a perfect shape.

5 & 6. When I get a satisfying shape I use the methylated spirits to clear the marks on the skin.
Make adjustment if needed.

Finally cut the rough parts off,

and sand the edge of the skin.


The skin of lighting is finished.
It perfectly adhere to the template and looks good.
Tutorial 1 for Metal Shaping
Project Object: UHU Glue
Main Steps:
1. Measure the template's dimension and cut a proper aluminium sheet2. Use the roller machine to round the aluminium sheet
3. Make the bent shape base on the template
4. Adjust to adhere to the template
5. Sand and polish the skin
Process:

1. Draw the shape of the part of object, use the Guillotine to cut the 1mm aluminium sheet.

2. Use the slip rollers to curve the sheet。
As the template is rounder on the top part than the bottom part, I need to adjust the roller to get the different shape.

Rotate the bar gradually each time to get more difference between the top part and the bottom part.p.s. I rotate the bar 3 circles each time and roll my aluminium sheet into the roller.

3. Then use the timber hammer with a convex rounded edge.

Use the wood block to bent the sheet and create the ring shape around the cap of the UHU glue.


I carefully hit the sheet with hammer but I chose the wrong hammer at first hence I got a hole on oner of the sheets.
tips: choose the right hammer and discuss with the experience stuff in the workshop,
you would avoid much mistakes.


While making that ring shape the bent part is getting stronger, I need to use some round shape tools to make the body round back.
Here I use the shape of the cylinder hammer and hit against it.

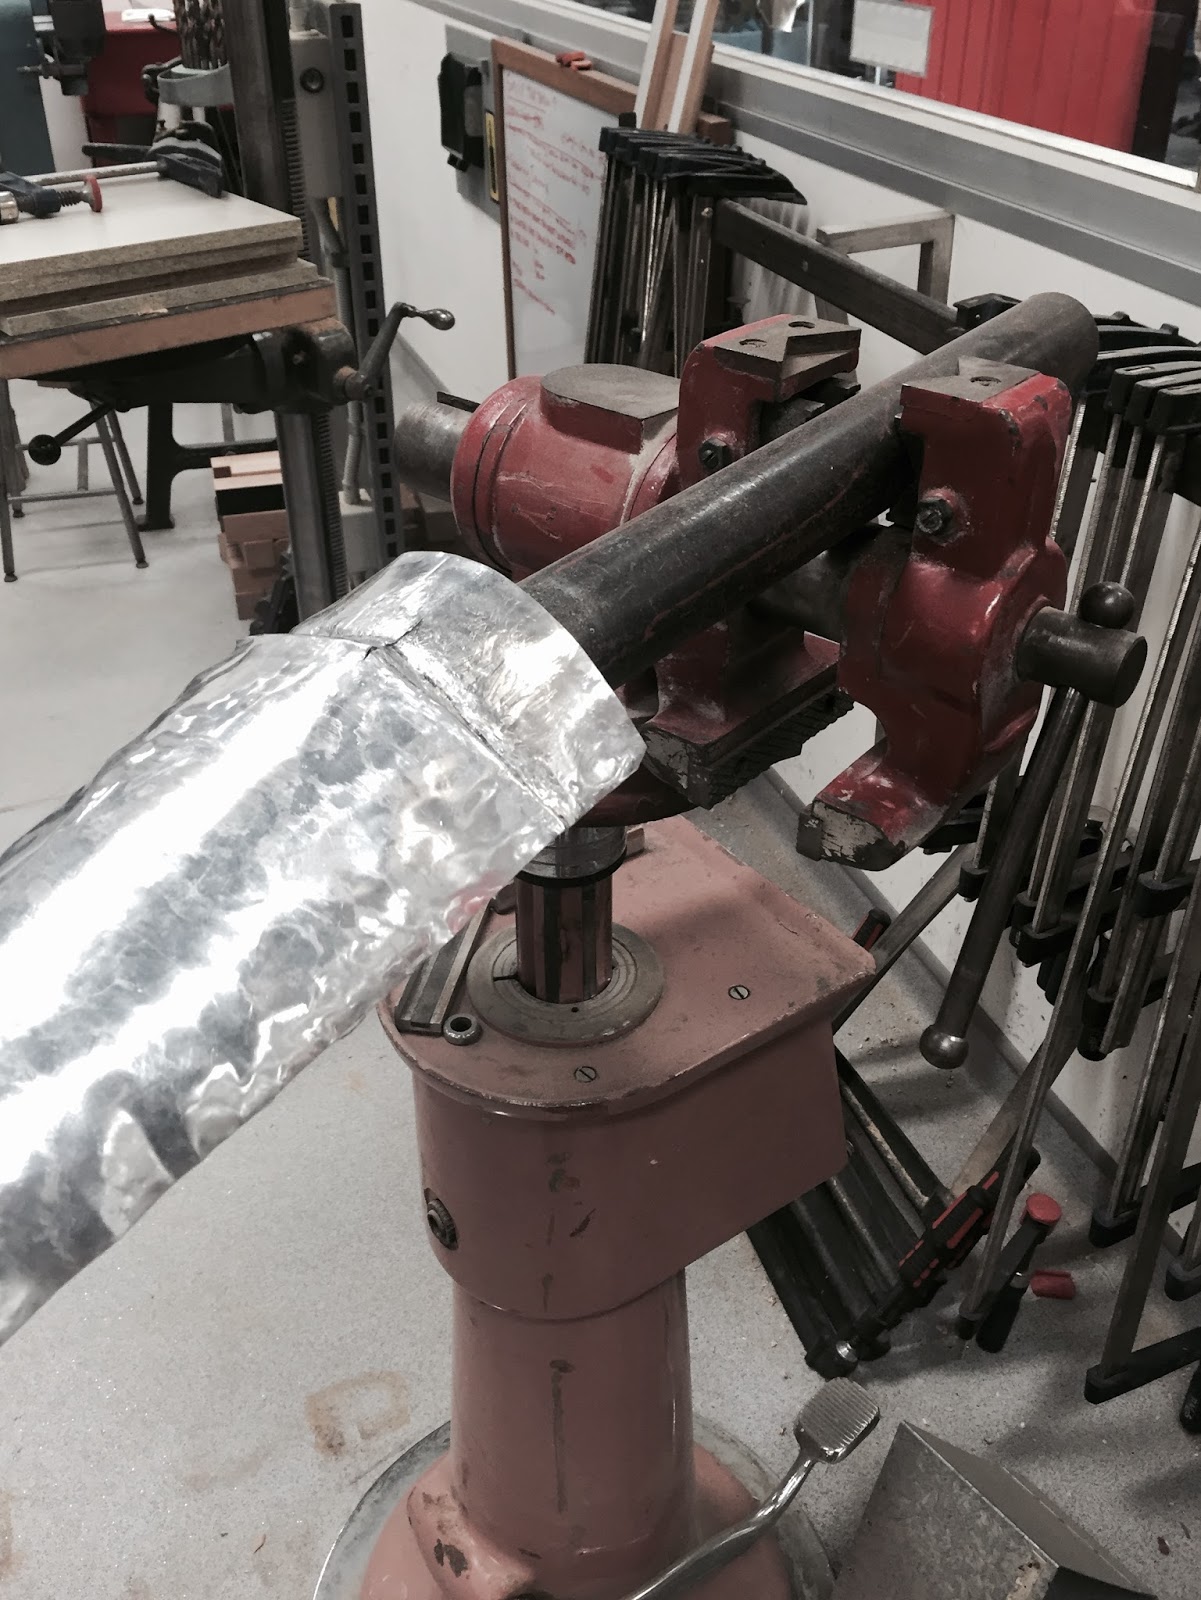
Then round the cap of the UHU glue.
tips: tools can be found everywhere in the workshop, smartly use anything you think could be a helpful tool.
4. Use the smaller hammer with a flat end to make details.

Use the timber block with a diagonal plane.


Use T-Dolly to round the edge.

Always put the aluminium shape around the template to see if anything need to adjust.

5. Cut off the unnecessary parts.

And sand the edge.
Use the methylated spirits to clear the marks on the skin.


The skin of UHU glue is finished.
The result is quite good and fits the template well.
The result is quite good and fits the template well.
Subscribe to:
Posts (Atom)